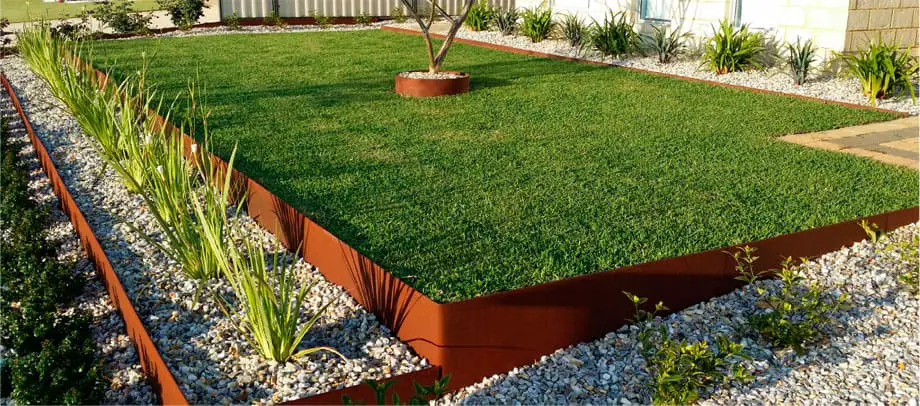
Installing metal garden edging can transform your garden, providing clean lines and a professional finish. Here’s a step-by-step guide to help you install metal garden edging with ease.
Materials Needed:
- Metal garden edging
- Tape measure
- Garden spade or edger
- Hammer or mallet
- Stakes
- Level
- Safety gloves
- Safety glasses
Step 1: Plan and Measure
Before starting, plan the layout of your garden edging. Use a tape measure to determine the length of the edging required. Mark the desired path with garden stakes or a garden hose to visualize the layout. This will help ensure you have enough material and that the design fits well in your garden space.
Step 2: Prepare the Ground
Clear the area of any grass, rocks, or debris where the edging will be installed. Use a garden spade or edger to dig a trench along the marked path. The trench should be about 4-6 inches deep and wide enough to accommodate the metal edging.
Step 3: Position the Edging
Place the metal edging into the trench, ensuring it stands upright. If the edging comes in sections, connect them as per the manufacturer’s instructions. Make sure the top of the edging is level with the ground or slightly above, depending on your preference.
Step 4: Secure the Edging
Once the edging is in place, use stakes to secure it. Drive the stakes into the ground on the garden side of the edging, spacing them evenly along the length. Use a hammer or mallet to gently tap the stakes into the soil, ensuring they are firmly in place and the edging is stable.
Step 5: Check the Level
After securing the edging, use a level to ensure it is even along the entire length. Adjust the height if necessary by adding or removing soil from the trench. Ensuring the edging is level will give your garden a neat and polished look.
Step 6: Backfill the Trench
Once the edging is securely in place and level, backfill the trench with soil. Pack the soil firmly against the edging to provide additional support. This will help keep the edging in place and prevent it from shifting over time.
Step 7: Finish Up
After backfilling, tamp down the soil to ensure it is compact and even. Water the soil around the edging to help settle it. Clean up any excess soil or debris from the installation area.
Step 8: Inspect and Maintain
Regularly inspect the metal edging to ensure it remains secure and level. Over time, you may need to re-adjust or replace stakes to maintain the edging’s appearance and function.
By following these steps, you can successfully install metal garden edging, enhancing the beauty and structure of your garden. Enjoy your newly defined garden spaces!