Installing a cedar fence is a great way to enhance the privacy and beauty of your yard. Cedar is a popular choice for fencing due to its natural durability and resistance to rot and insects. This step-by-step DIY guide will help you install cedar fence pickets efficiently and effectively.
Materials Needed
- Cedar fence pickets
- Fence posts (metal or wood)
- Concrete mix
- Gravel
- Nails or screws
- Post hole digger or auger
- Level
- Hammer or nail gun
- Screwdriver or drill
- Measuring tape
- String line
- Saw (if cutting is required)
- Safety gear (gloves, goggles, mask)
Step 1: Plan Your Layout
Before you start, plan the layout of your fence. Determine where the fence will go and mark the locations of the corner posts. Use a string line to ensure straight lines between the posts. Measure the total length to calculate how many pickets and posts you will need.
Step 2: Dig Post Holes
Using a post hole digger or an auger, dig holes for the fence posts. The depth of the holes should be about one-third the height of the post, with an additional 6 inches for gravel. For example, for a 6-foot tall post, dig the hole about 2 feet deep plus 6 inches for gravel.
Step 3: Prepare and Set Posts
Add about 6 inches of gravel to each hole for drainage. Set each post in its hole and use a level to make sure it’s plumb. Mix concrete according to the manufacturer’s instructions and fill the hole around the post, leaving a few inches at the top. Allow the concrete to set according to the instructions, usually at least 24 hours.
Step 4: Attach Rails to Posts
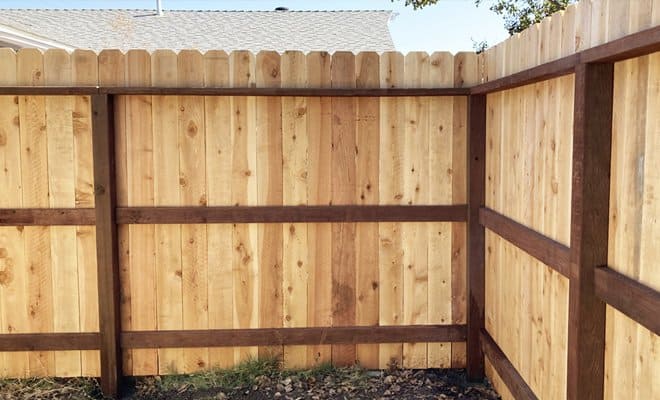
Once your posts are secure, attach horizontal rails between them at the top and bottom of where your pickets will go. These rails provide stability and a place to secure the pickets. Ensure they are level and securely attached.
Step 5: Install the Pickets
Start at one end and place the first picket against the post, using a level to ensure it’s straight. Attach the picket to the rails with nails or screws, starting at the top and working your way down. Leave a small gap between pickets to allow for wood expansion and contraction. Continue this process along the length of the fence.
Step 6: Finish and Maintain Your Fence
Once all pickets are installed, you may choose to treat or stain your cedar fence to preserve its color and further protect it from the elements. Regular maintenance such as cleaning and occasional resealing will extend the life of your fence.
Tips for Success
- Check local building codes and homeowner association rules before beginning your project to ensure compliance.
- Consider using a spacer or small block to maintain uniform gaps between pickets.
- Always wear appropriate safety gear when operating tools.
By following these steps, you’ll be able to install a durable and attractive cedar fence that will enhance your outdoor space for years to come.