Introduction to PVC Conduit Installation
Electrical conduit systems are pivotal in protecting and routing electrical wiring efficiently and safely. Among the various materials available, PVC conduit stands out for its durability, ease of installation, and cost-effectiveness. This guide delves into the best practices and indispensable tips for installing PVC conduit, ensuring a reliable and secure electrical system.
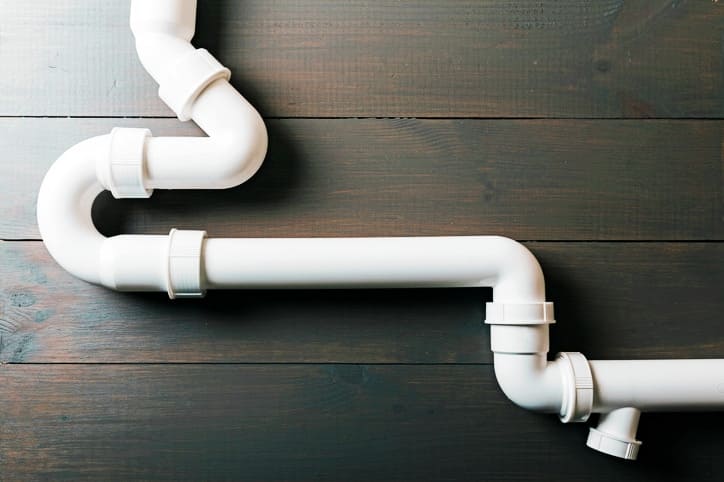
Understanding PVC Conduit
PVC, or polyvinyl chloride, is a type of plastic commonly used in electrical conduits. It is favored for its lightweight, resistance to moisture, corrosion, chemical rotting, and its excellent insulation properties. Before initiating the installation process, it is crucial to select the right type of PVC conduit (such as Schedule 40 or Schedule 80), depending on the environmental conditions and mechanical durability required.
Pre-Installation Checklist
- Measure Accurately: Determine the total length of conduit needed, including allowances for bends and offsets.
- Inspect for Damage: Always check the conduit for any signs of damage or defects before installation.
- Gather Necessary Tools and Materials: This includes PVC cutters, cement, a hacksaw, tape measure, and markers.
Cutting and Joining Techniques
- Cutting PVC Conduit: Use a PVC cutter or hacksaw to cut the conduit to the desired length. Ensure the cuts are straight and smooth to facilitate easier joining.
- Deburring: After cutting, deburr the inside and outside of the conduit to prevent damage to the wires.
- Solvent Cementing: Apply solvent cement on the outside of the pipe and inside of the fitting. Insert the pipe into the fitting, twist slightly, and hold for a few seconds to ensure a secure bond.
Bending PVC Conduit
Bending PVC conduit requires careful handling to avoid kinks and ensure smooth curves:
- Heat Bending: Using a heat gun, evenly heat the area of the conduit to be bent until it becomes pliable. Bend it to the desired angle, and hold it in place until it cools.
- Conduit Bender: For more precise bends, use a conduit bender. This tool helps in achieving accurate angles without stressing the material.
Installation Tips
- Secure Mounting: Mount the conduit securely using straps and clamps. Space them according to the manufacturer’s recommendations to prevent sagging.
- Avoid Sharp Bends: Sharp bends can damage wires during pulling. Use fittings like elbows if a tight turn is necessary.
- Maintain Accessibility: Install junction boxes at intervals to maintain accessibility for future maintenance or adjustments.
Electrical Wiring Considerations
- Wire Pulling: Use a fish tape or draw wire to guide the electrical wires through the conduit. Apply a wire-pulling compound if necessary to reduce friction.
- Cap Conduit Ends: Cap all open ends temporarily during installation to prevent the ingress of dirt or debris.
Testing and Safety Compliance
Once the installation is complete, conduct thorough testing to ensure the system is safe and meets all local codes and regulations. This includes checking for secure fittings, proper grounding, and the integrity of the conduit runs.
Conclusion
Adhering to these best practices and tips for PVC conduit installation not only facilitates a smoother installation process but also enhances the longevity and safety of your electrical systems. By following the steps outlined, you can ensure that your PVC conduit installation is robust, compliant, and optimized for performance.