Relocating to a new home can be thrilling, though the task of organizing and packing your kitchen can often feel overwhelming. But don’t worry if you don’t know where to start—we’re here to help! We’ll guide you through the essential steps to pack your kitchen efficiently and safely.
By learning the importance of proper packing techniques, selecting the right supplies, and using strategic methods for various kitchen items, you can simplify the packing process and ensure your kitchen essentials reach your new home intact.
Plus, with everything packed properly, setting up your new kitchen will be a breeze, allowing you to improve your home more quickly and enjoyably.
Let’s dive in and master packing a kitchen for a move like a pro!
Understanding the Importance of Proper Kitchen Packing
Packing your kitchen properly is key to a smooth move. With all the fragile dishes, sharp utensils, and bulky appliances, the kitchen can be one of the toughest rooms to pack. So understanding the importance of proper kitchen packing will not only protect your belongings but also make the unpacking process easier in your new home.
- Ensuring the Safety of Fragile Items: Properly wrap and cushion dishes, glasses, and ceramics to protect them from damage during the move.
- Avoiding Damage to Appliances: Pack kitchen appliances securely to safeguard their delicate parts and electrical components.
- Minimizing the Risk of Injury: Pack sharp utensils and hazardous items safely to prevent injuries.
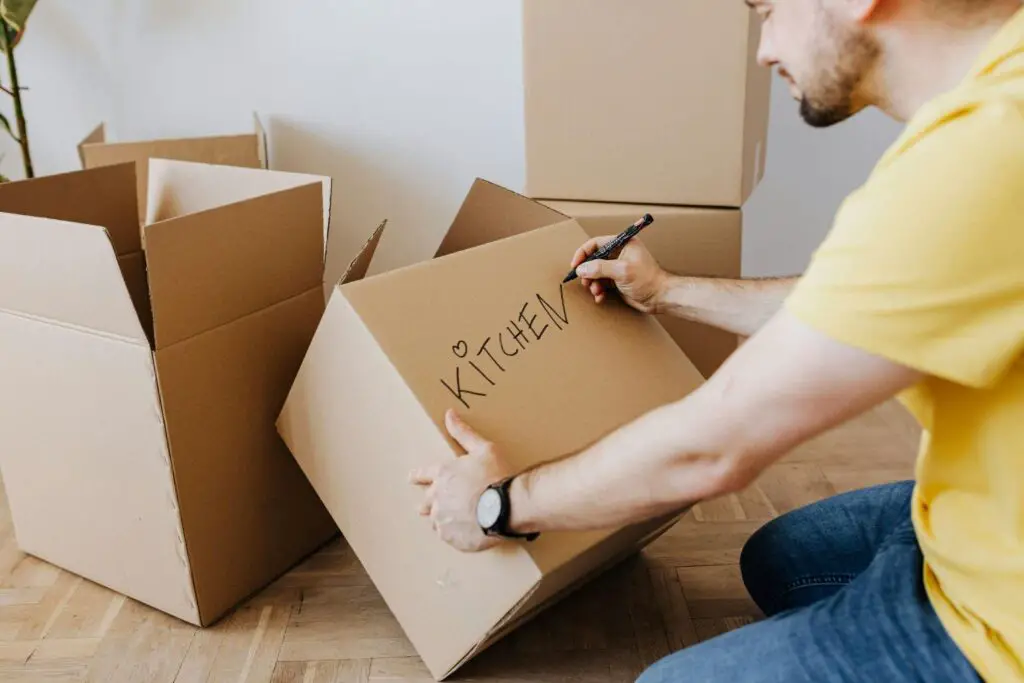
- Streamlining the Unpacking Process: Organize and label boxes to make unpacking efficient and stress-free.
- Preserving the Value of Your Kitchen Items: Proper packing helps maintain the quality and value of sentimental or expensive kitchen items.
Eric Taylor, owner of Fort Mill Friendly Movers, states that “Effective kitchen packing not only saves time but also minimizes the risk of damage during transportation. For instance, when it comes to movers, Charlotte, NC residents can rely on our added packing and unpacking services to ensure careful organization and handling of kitchen items.”
Gathering Necessary Packing Supplies
Before you begin packing your kitchen, it’s essential to gather all the necessary supplies. Having the right packing materials will ensure that your items are properly protected during the move.
Here are the key supplies you’ll need:
- The Right Boxes: Use sturdy, corrugated cardboard boxes in various sizes. Small boxes for heavy items like canned goods; medium and large boxes for pots, pans, and larger items. Get dish boxes with dividers for fragile dishes and glasses.
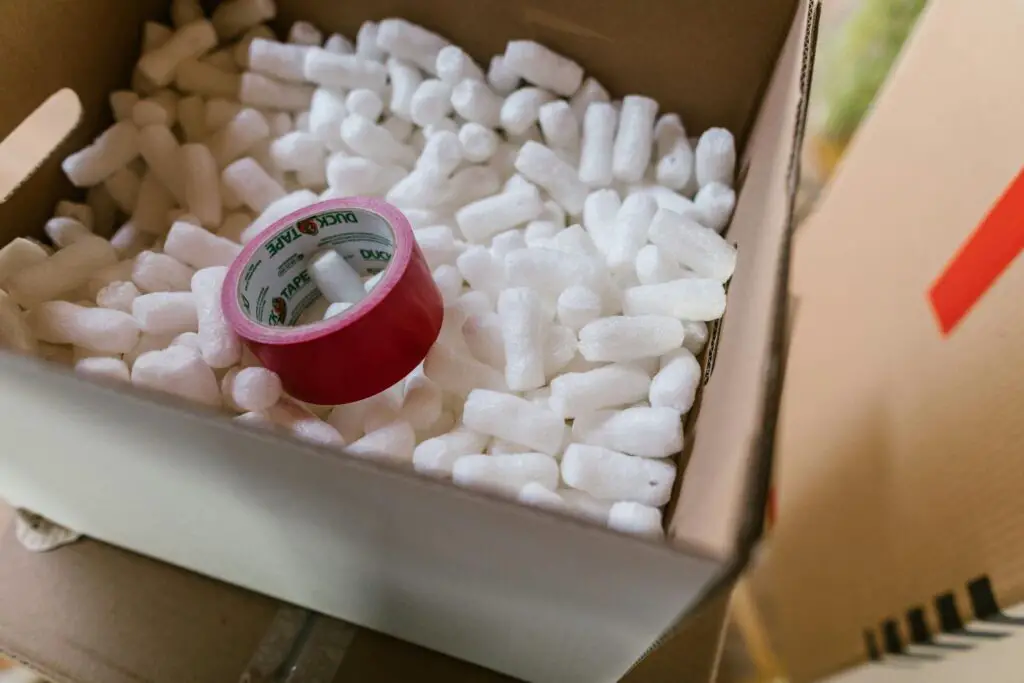
- Protective Wrapping Materials: Use bubble wrap for fragile items, packing paper or newspaper for dishes and glasses, and foam pouches or sleeves for stemware. Ensure you have plenty of these materials.
- Labeling and Sealing Supplies: Use markers or labels to mark box contents. Secure boxes tightly with packing tape to prevent accidental openings during transport.
Packing Small Kitchen Appliances
Packing small kitchen appliances requires careful preparation to ensure their safety during the move. These appliances can range from toasters and blenders to coffee makers and microwave ovens.
Let’s go over a step-by-step guide on how to pack them effectively:
Preparing Appliances for Packing
- Clean the appliances: Thoroughly clean and dry each appliance before packing to prevent any residue. Or food particles from causing damage or attracting pests during transportation.
- Remove detachable parts: Take apart any detachable parts, such as blades, trays, or cords. Wrap them separately, and label them to make sure they’re easily identifiable when unpacking.
Protective Wrapping Techniques
- Wrap in bubble wrap or packing paper: Start by wrapping the appliance in several layers of bubble wrap or packing paper. Ensure that all sides and corners are adequately covered for maximum protection.
- Secure with tape or rubber bands: Use tape or rubber bands to secure the wrapping in place and prevent it from unraveling during transit.
- Place in a sturdy box: Select a box that is slightly larger than the appliance to allow for additional cushioning materials. Fill any empty spaces with crumpled packing paper or foam to prevent shifting inside the box.
Securing and Labeling the Boxes
- Seal the box: Use packing tape to securely seal the box, making sure all edges are reinforced.
- Label the box: Clearly label the box with the name of the appliance and indicate if it is fragile. This will help movers handle the box with care and ensure it is placed in the appropriate area in your new home.
Packing Dishes, Glasses, and Other Fragile Items
Packing dishes, glasses, and other fragile items in your kitchen requires extra care to ensure they arrive at your new home intact. Fragile items are susceptible to breakage during transportation, but with the right techniques, you can minimize the risk.
Follow these steps to pack your delicate kitchen items safely:
Choosing Proper Packing Materials for Fragile Items
Start by gathering sturdy boxes, specifically designed for fragile items. Dish boxes with dividers are ideal for dishes, glasses, and other delicate kitchenware. Next, acquire cushioning materials such as packing paper, bubble wrap, or foam pouches to provide a protective layer for your fragile items. Additionally, use dish separators or cardboard inserts to keep dishes and plates separate, preventing them from rubbing against each other.
Effective Wrapping and Cushioning Techniques
Begin by creating a layer of cushioning at the bottom of the box using crumpled packing paper or bubble wrap to provide a soft base for your items. Then, individually wrap each dish, glass, or fragile item with packing paper or bubble wrap. Ensuring complete coverage and securing the wrapping with tape. Utilize dividers such as dish separators or cardboard inserts between items to prevent contact and potential breakage. Lastly, fill any remaining empty spaces in the box with additional packing paper or bubble wrap to prevent shifting during transit.
Boxing, Sealing, and Labeling Fragile Items
Arrange items strategically by placing heavier items at the bottom of the box and lighter items on top to distribute the weight evenly. Once packed, seal the box securely using packing tape, reinforcing all edges and seams. It’s important to label the box as “fragile” on multiple sides to alert movers to handle it with care.
Packing Pots, Pans, and other Non-Fragile Kitchen Items
Packing pots, pans, and other non-fragile kitchen items requires a different approach than delicate items. While these items may not be prone to breakage, they still require proper packing to avoid scratching or damage.
Here’s how to pack your non-fragile kitchen items effectively:
- Sorting and Grouping Non-Fragile Items: For easier packing and unpacking, group your items by size and type, and save space by nesting stackable items.
- Packing Techniques for Non-Fragile Items: Wrap items in dish towels or padding to prevent scratches, stack heavier items at the bottom horizontally in boxes, and fill any gaps to prevent shifting.
- Boxing, Sealing, and Labeling Non-fragile Items: Choose appropriate box sizes, seal tightly with packing tape, and label clearly for easy identification during unpacking.
Final Tips for a Smooth Kitchen Move
As you prepare to move your kitchen to a new home, it’s important to keep a few final tips in mind to ensure a smooth and successful transition. These tips will help you stay organized, protect your items, and make the unpacking process easier.
- Create a packing timeline: Start packing your kitchen well in advance, allowing ample time to sort, pack, and label your items. A packing timeline will help you stay organized and reduce last-minute stress.
- Pack essentials separately: Before you start packing, set aside a box or bag for essential kitchen items that you’ll need immediately upon arrival at your new home. This may include basic utensils, plates, glasses, and a few cooking essentials. Keep this box easily accessible so that you can unpack it first.
- Take inventory and declutter: Use the moving process as an opportunity to declutter your kitchen. Take inventory of your items and consider donating or selling any items you no longer need or use. This will reduce the number of items you need to pack and unpack, making the process more efficient.
- Consider professional packing services: If you have a large kitchen with many fragile items, or if you simply prefer to leave the packing to professionals, consider hiring a packing service. They have the expertise and experience to handle delicate items and ensure their safe transport.
- Communicate with your moving company: If you’re hiring a moving company, make sure to communicate your specific packing requirements and any fragile items that need extra care. Provide clear instructions on handling fragile boxes and label them accordingly.
- Take photos: Before disassembling any appliances or kitchen furniture, take photos to document their original setup. This will make it easier to reassemble them correctly in your new home.
- Unpack strategically: When you arrive at your new home, unpack your kitchen strategically. Start with the essentials box and gradually work your way through the boxes, unpacking one at a time. Take your time to organize your kitchen according to your preferences.
Conclusion
In conclusion, mastering the art of packing a kitchen for a move is essential for a smooth transition to your new home. By understanding the importance of proper packing techniques, gathering the necessary supplies. And employing strategic methods for various kitchen items, you can simplify the packing process and ensure your kitchen essentials reach your destination intact.
Whether it’s safeguarding fragile dishes, securely packing small appliances, or organizing non-fragile items. Following these guidelines will not only protect your belongings but also streamline the unpacking process. Allowing you to settle into your new kitchen quickly and enjoyably.