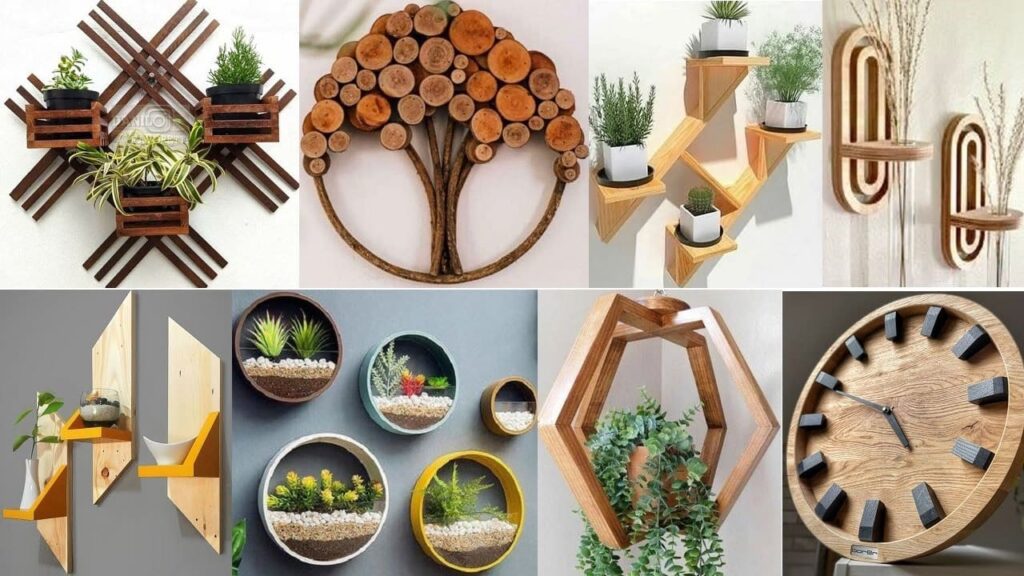
Creating your own wood wall decor is not only a fulfilling DIY project but also a great way to add a personalized touch to your home. With a few simple tools and materials, you can transform ordinary wood into stunning wall art. Here are some easy DIY projects to get you started.
1. Geometric Wood Art
Geometric designs are timeless and fit well in modern and traditional settings. To create a geometric wood art piece:
- Materials Needed: Wood pieces, wood glue, stain or paint, sandpaper.
- Instructions:
- Cut wood into geometric shapes (squares, triangles, rectangles).
- Sand the edges to smooth out any roughness.
- Arrange the shapes on a flat surface to form a design you like.
- Glue the pieces together and let dry.
- Stain or paint in your chosen colors.
- Mount on the wall with picture hangers.
2. Wooden Honeycomb Shelves
Not only decorative, but these shelves are also functional and can be a great addition to any room.
- Materials Needed: Plywood, saw, sandpaper, wood glue, paint or varnish.
- Instructions:
- Cut plywood into hexagonal shapes.
- Sand the edges for a smooth finish.
- Assemble the hexagons using wood glue to create a honeycomb pattern.
- Paint or varnish the shelves in your desired color.
- Attach to the wall with brackets or hanging strips.
3. Rustic Branch Art
This project uses natural elements to bring an organic, rustic charm to your décor.
- Materials Needed: Tree branches, wood stain, clear sealant, mounting hardware.
- Instructions:
- Collect various branches, ensuring they are clean and dry.
- Arrange them in a pattern on a wooden board or directly on the wall.
- Attach the branches using small nails or a strong adhesive.
- Apply wood stain and sealant to protect the branches and enhance their look.
- Mount the arrangement on the wall securely.
4. Carved Wooden Wall Panels
Carved wood panels can add an exotic touch to any room and are surprisingly easy to create with the right tools.
- Materials Needed: Large wooden boards, carving tools, sandpaper, stain or paint.
- Instructions:
- Sketch your design on the wood board.
- Using carving tools, carefully carve out the design.
- Sand the carved panel smooth.
- Apply stain or paint to enhance the carving.
- Securely mount the panel on the wall.
5. Pallet Wood Wall Art
Recycling pallet wood into wall art is both eco-friendly and stylish.
- Materials Needed: Pallet wood, saw, sandpaper, paint, brushes.
- Instructions:
- Disassemble a pallet and remove any nails.
- Cut the wood into desired shapes or sizes.
- Sand each piece thoroughly.
- Paint or stain the wood in various colors for a vibrant effect.
- Arrange the pieces in a creative pattern and attach them to a backing board.
- Hang your new artwork on the wall.
Conclusion
DIY wood wall decor projects offer a fantastic way to express your creativity and enhance your living space. Whether you choose a rustic, modern, or eclectic style, the warmth and texture of wood can make any room feel welcoming and designed with intention. Plus, the satisfaction of creating something beautiful with your own hands is a reward in itself. Happy crafting!