Installing new handles on your French doors is a simple and effective way to refresh the look of your doors without undertaking a major renovation. Whether you’re replacing worn-out hardware or aiming for a style update, the right door handles can make a significant difference. This guide will walk you through the steps of installing French door handles, ensuring that even beginners can handle this DIY project with confidence.
Step 1: Choose Your Handles
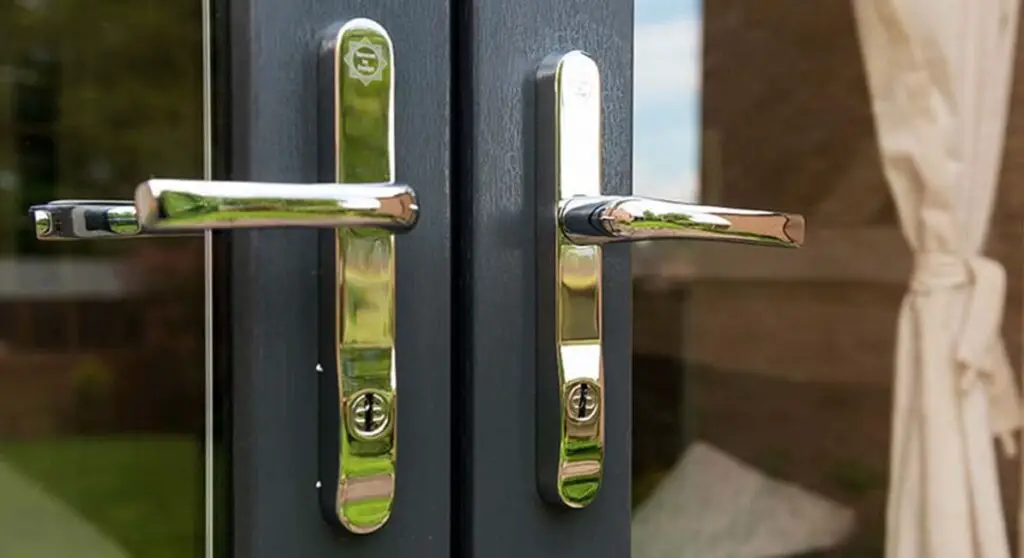
Before you begin the installation process, you need to choose the right handles for your French doors. Consider the design, material, and finish that will best complement your interior decor. French door handles come in various styles, including lever handles, knob handles, and more ornate options. Additionally, think about the functionality – for instance, if you prefer a locking handle for added security.
Step 2: Gather Your Tools
To install your new door handles, you’ll need the following tools:
- Screwdriver (usually Phillips or flat-head, depending on the screws)
- Tape measure
- Drill (if new holes are needed)
- Level (to ensure the handles are perfectly horizontal)
- Allen wrench (if required by your handle set)
Step 3: Remove the Old Handles
Start by removing the old handles from your French doors. This is usually done by unscrewing the mounting screws that hold the handle in place on the interior side of the door. Keep all screws and components together in case you need to refer to them when installing the new handles.
Step 4: Prepare for the New Handles
If your new handles fit the existing holes, you can skip straight to installation. If not, you’ll need to prepare new holes:
- Measure the distance between the holes of your new handle carefully.
- Mark these measurements on the door, using a pencil for visibility.
- Double-check the alignment with a level.
- Drill new holes if necessary, according to the handle manufacturer’s instructions.
Step 5: Install the New Handles
With your holes prepped, you can now install the new handles:
- Place the handle on the outside of the door, aligning it with the holes.
- From the inside, attach the corresponding handle or locking mechanism.
- Secure both sides with the provided screws, ensuring not to over-tighten and strip the screws.
Step 6: Test the Handles
After installation, it’s crucial to test the handles to ensure they function correctly. Open and close the door several times, and lock and unlock it if your handle has a locking mechanism. Make adjustments as needed by tightening or loosening the screws.
Step 7: Finishing Touches
Once you’re satisfied with the installation, you can add any finishing touches such as decorative backplates or additional security locks. Cleaning the handles with a suitable cleaner will remove any installation marks and help protect the finish.
Maintenance Tips
To keep your French door handles in good working order, periodically check and tighten the screws. Clean the handles regularly to prevent dirt build-up and corrosion, especially if they are exposed to the elements on an exterior door.
Conclusion
Installing new handles on your French doors is a manageable task that can significantly enhance the appearance and functionality of your doors. By following these steps and taking your time, you can achieve a professional-looking installation that will last for years to come. Whether you’re an experienced DIY enthusiast or a beginner, this project is a great way to upgrade your home’s aesthetics and comfort.